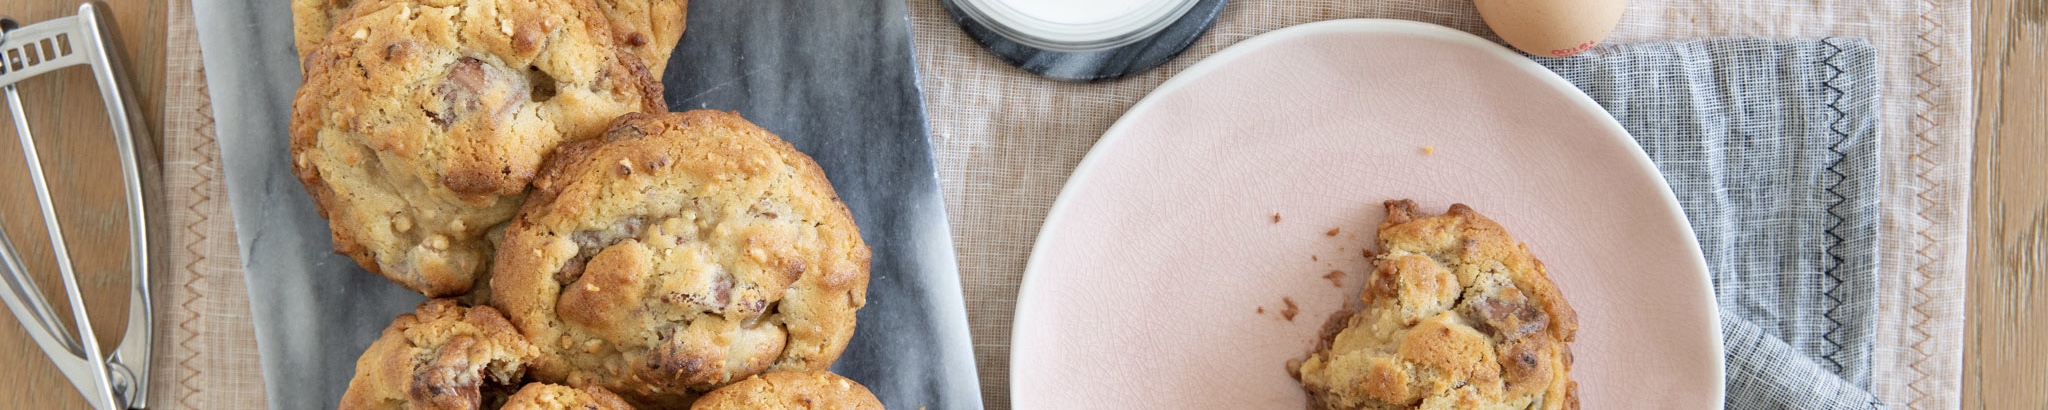
Levain Bakery – eat your heart out…
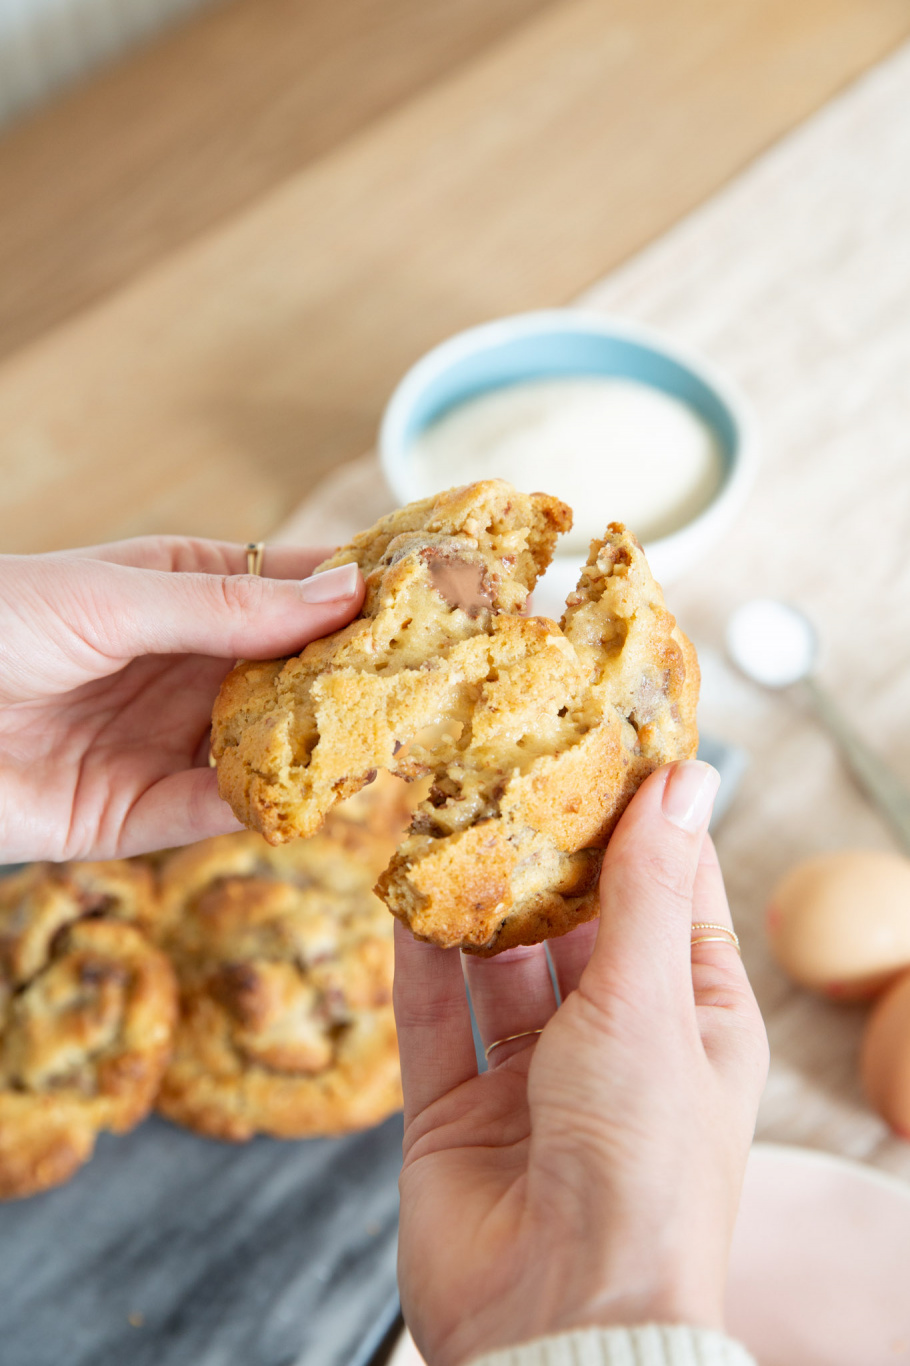
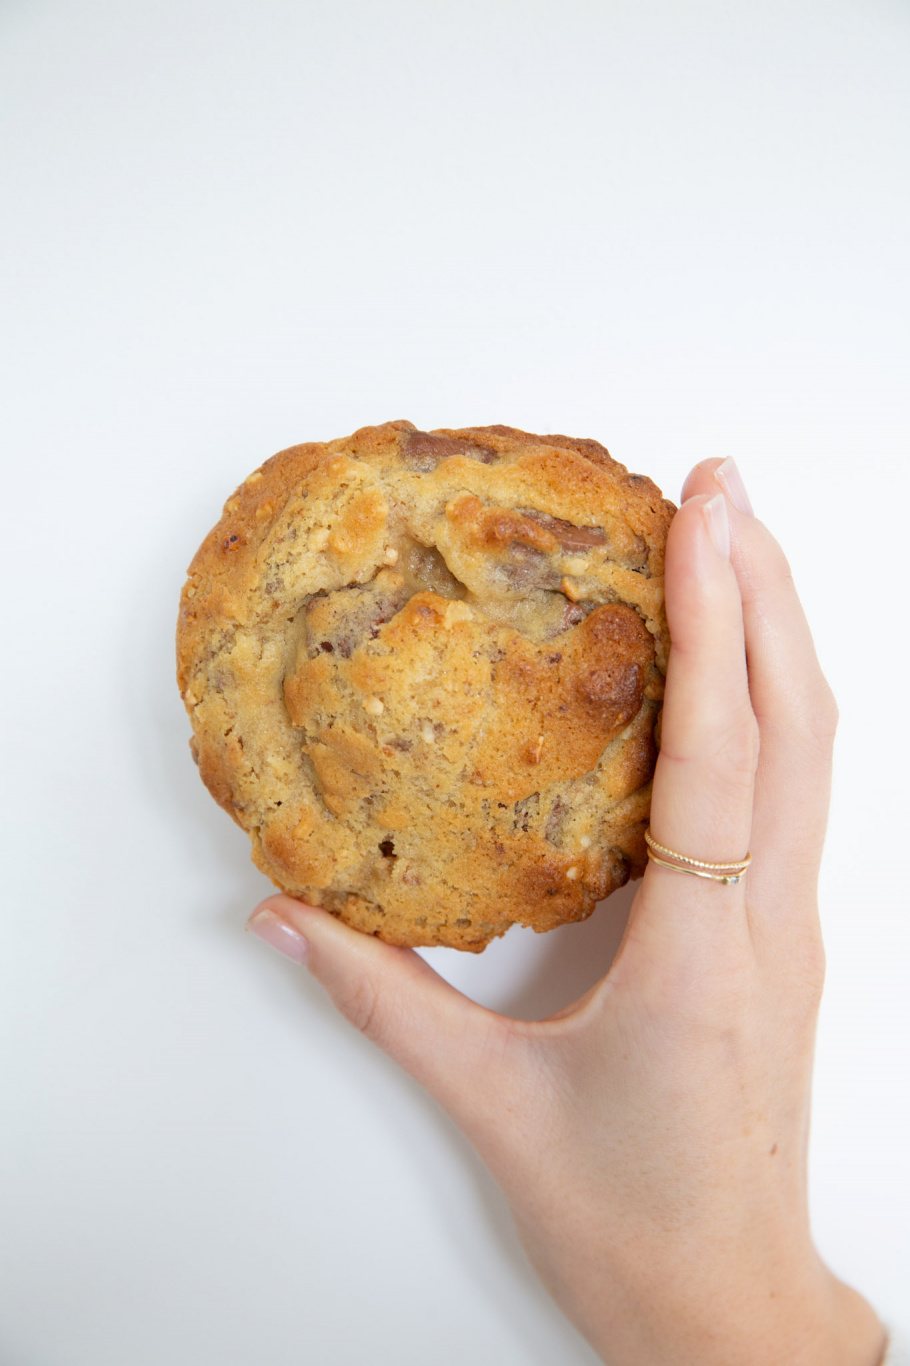
I’ve made A LOT of cookies over the past month. I’ve made cookies for my girlfriends for a night of watching ‘Sex and The City’ preceded by a Chinese takeaway – heaven. I’ve made two rounds of cookies for my in-laws on their annual family holiday. I’ve made cookies for my uni pals that I’ve smuggled over to them after a spin class. If I was to guess a number, I’d say that I must be approaching the 200 cookies mark. Madness. After a week of solid cookie making I set upon this recipe, that I shared in a recent video. These cookies were unlike anything I’d been able to make before. They were thick and dense and cooked on the outside, but not so much on the inside. They were melty and sort of cakey. They were DELICIOUS. I was so chuffed that I’d managed to find a recipe that had the height and shape and texture that I’d come to dream about thanks to the ridiculously incredible cookies from the likes of Levain Bakery in New York and Crème in London. But these ones I didn’t have to take a 3,500 mile flight or a £50 train for; instead I could make them from our very own kitchen.
Since I’ve become a cookie making machine, I’ve learnt a few more lessons that help to make these cookies the absolute best you’ll ever make. Just a couple of tweaks and tips to help get that height and denseness that gives the cookies a middle that oozes when you break it open and an outside that’s soft but set. So here are the VERY IMPORTANT lessons I’ve learnt in cookie science and the slightly amended recipes below…
THE LESSONS I’VE LEARNT FROM MAKING 200 COOKIES
Cream for longer than you think. I’ve been reading a lot about cookies recently (I know, I am OBSESSED), and apparently a lot to do with the quality of the finished product is to do with how well you’ve creamed the butter and sugar together. After reading Christina Tosi’s tips (the founder of Milk Bar), I now cream the butter and sugar together for 5-7 minutes once it’s all incorporated. It helps to get some air into the mixture which will help with the thickness of the cookie later on.
Scrap the cake flour. I’d riffed my recipe off of this Modern Honey recipe that suggested cake flour was a good addition to the cookies. But after using just self-raising flour for the cookies as I’d run out of cake flour, I found that they turned out even better than the originals, with that self-raising agent giving the end cookies even more of a peak in the middle. So scrap the half and half formula and instead just go in with straight up self-raising flour.
Buy this bar. I recently discovered that this Cabury Dairy Milk Chocolate Bar is 360g which is basically the perfect amount of chocolate you need for this recipe. Take a couple of squares of the end for you to snack on as you cook and chop up the rest. Perfect.
Freeze your cookies for as long as you can. I’d previously only managed to wait around 30 minutes before getting impatient and popping my frozen balls into the oven. But if you can wait longer, then do! Overnight is actually the dream and means you’re even more likely to get an undercooked middle to your cookie. You might have to adjust cooking times a little, but it really does help. Also set them up so that they are as tall as they can be on the baking tray, don’t put them on their side – it helps with the thickness!
Tinfoil is the way forward. Whilst we were away with Mark’s family I ended up making another round of cookies, seeing as the first batch was gobbled up in record time. Nice work. We had none of our usual baking supplies, so I ended up cooking three cookies at a time in a teeny tiny oven and using a baking tray covered with tinfoil instead of my usual baking parchment or silicone baking sheet. They turned out to be the best I’d ever made. So now I bake just a couple at a time on a tinfoil lined baking sheet. The tinfoil helps the bottoms to set a little more and catch a bit of colour, which helps with the sturdiness of the overall cookie.
Cooking time is everything. I’ve found that eight minutes on one side, before taking it out, spinning the tray around and doing four minutes on the other side is the perfect cooking time for a cookie that’s set and slightly crispy on the outside, but still a little undercooked in the middle. Experiment with what works best in your oven, but cooking it for a period of time on one side and then turning it round and cooking it for that amount of time but halved, seems to work really well and results in even colour across all the cookies.
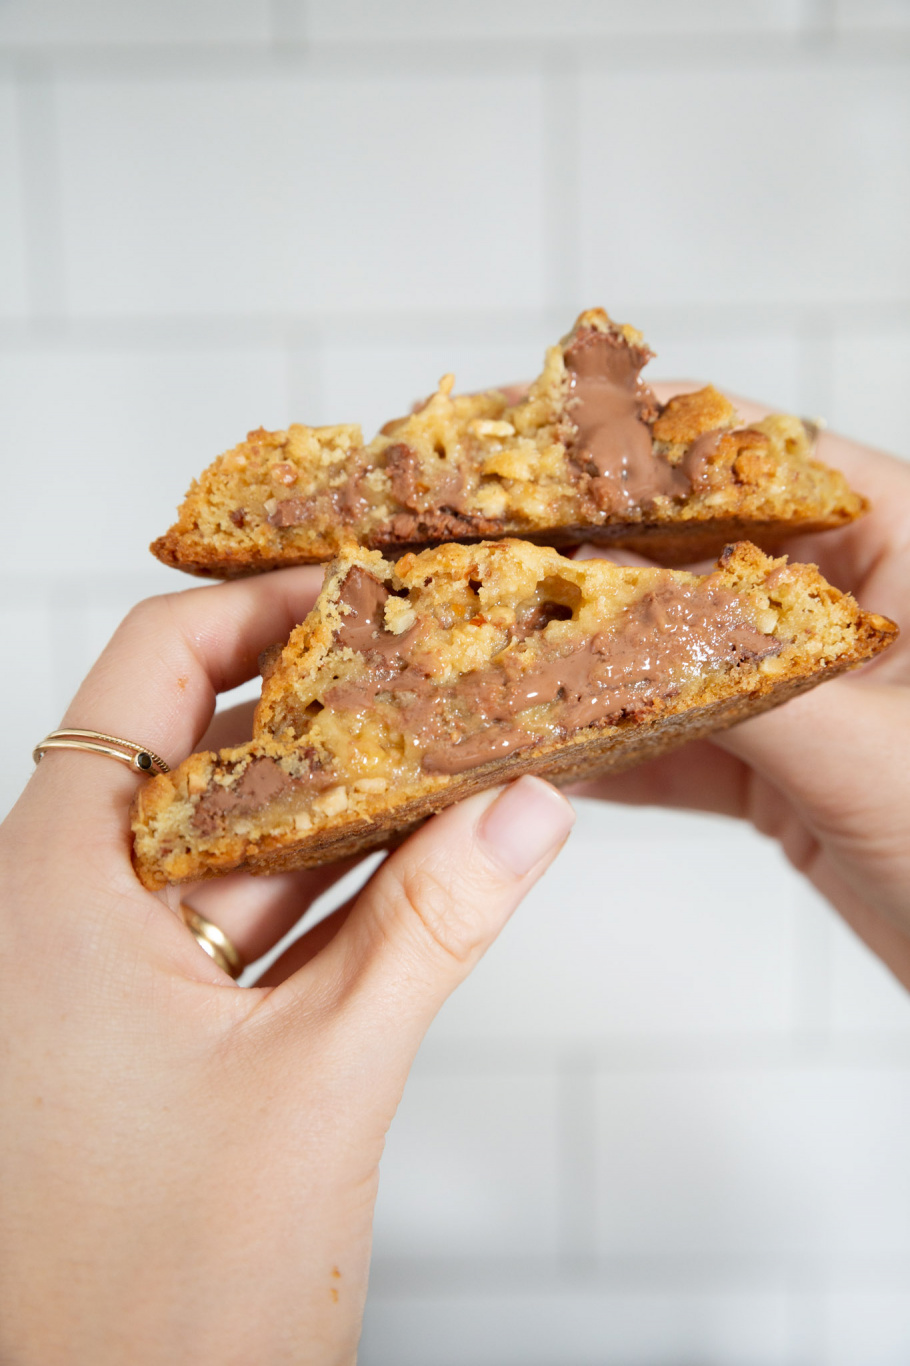
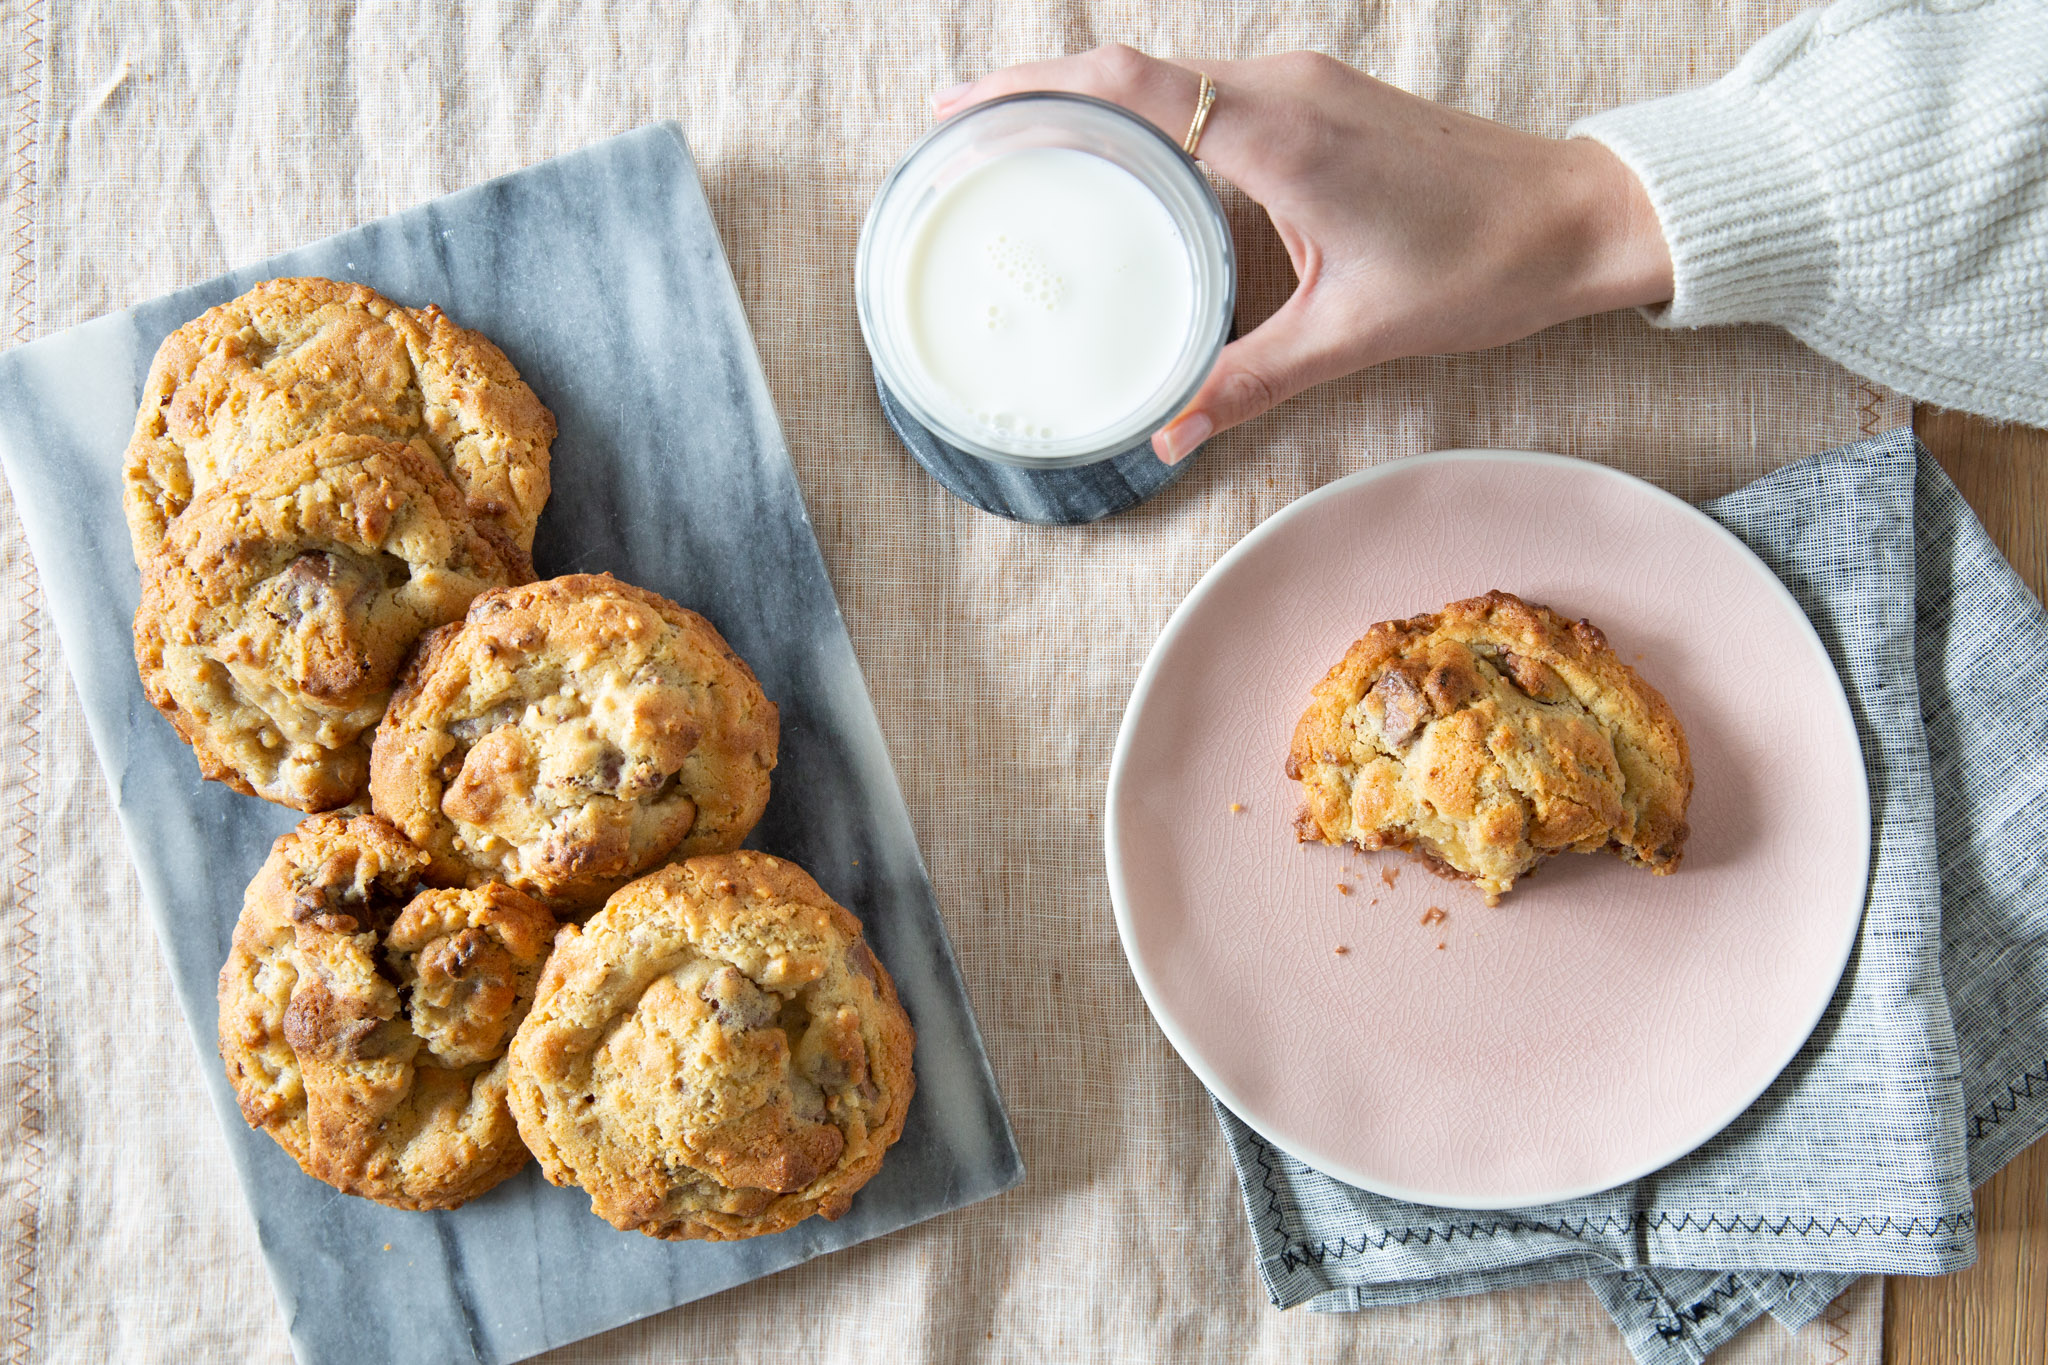
MILK CHOCOLATE & ROASTED HAZELNUT LEVAIN BAKERY-STYLE COOKIES (Makes 10-12 cookies): The perfect thick and gooey cookie recipe that’s slightly crisp and chewy on the outside, but soft and doughy on the inside. The nuts can be completely omitted if you fancy, without changing any other quantities, but I really feel like they take these cookies to the next level. If you’re lazy like me buy a pack of chopped roasted hazelnuts and you’ll be eating these fresh from the oven in no time at all.
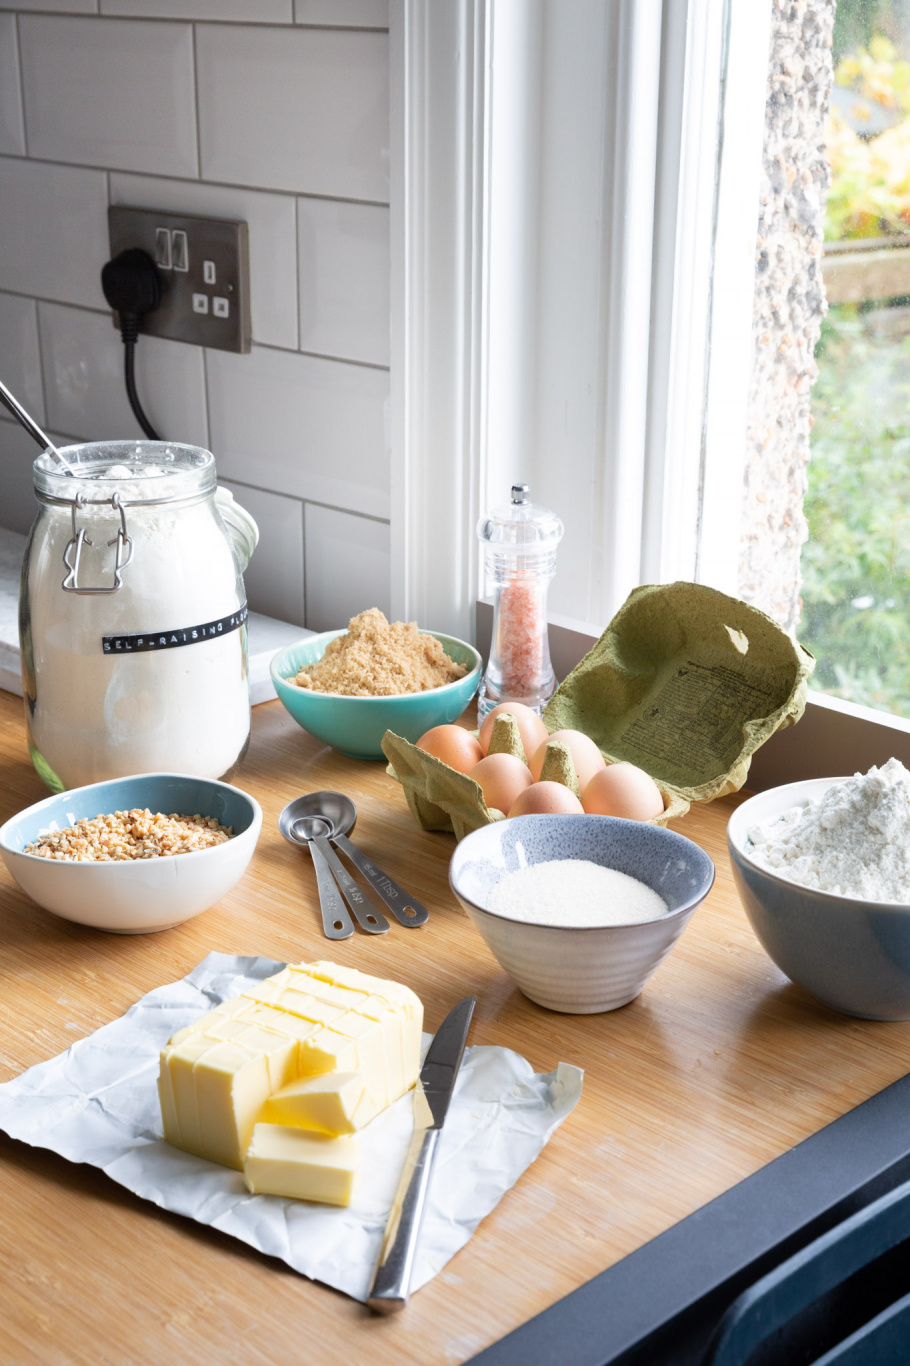
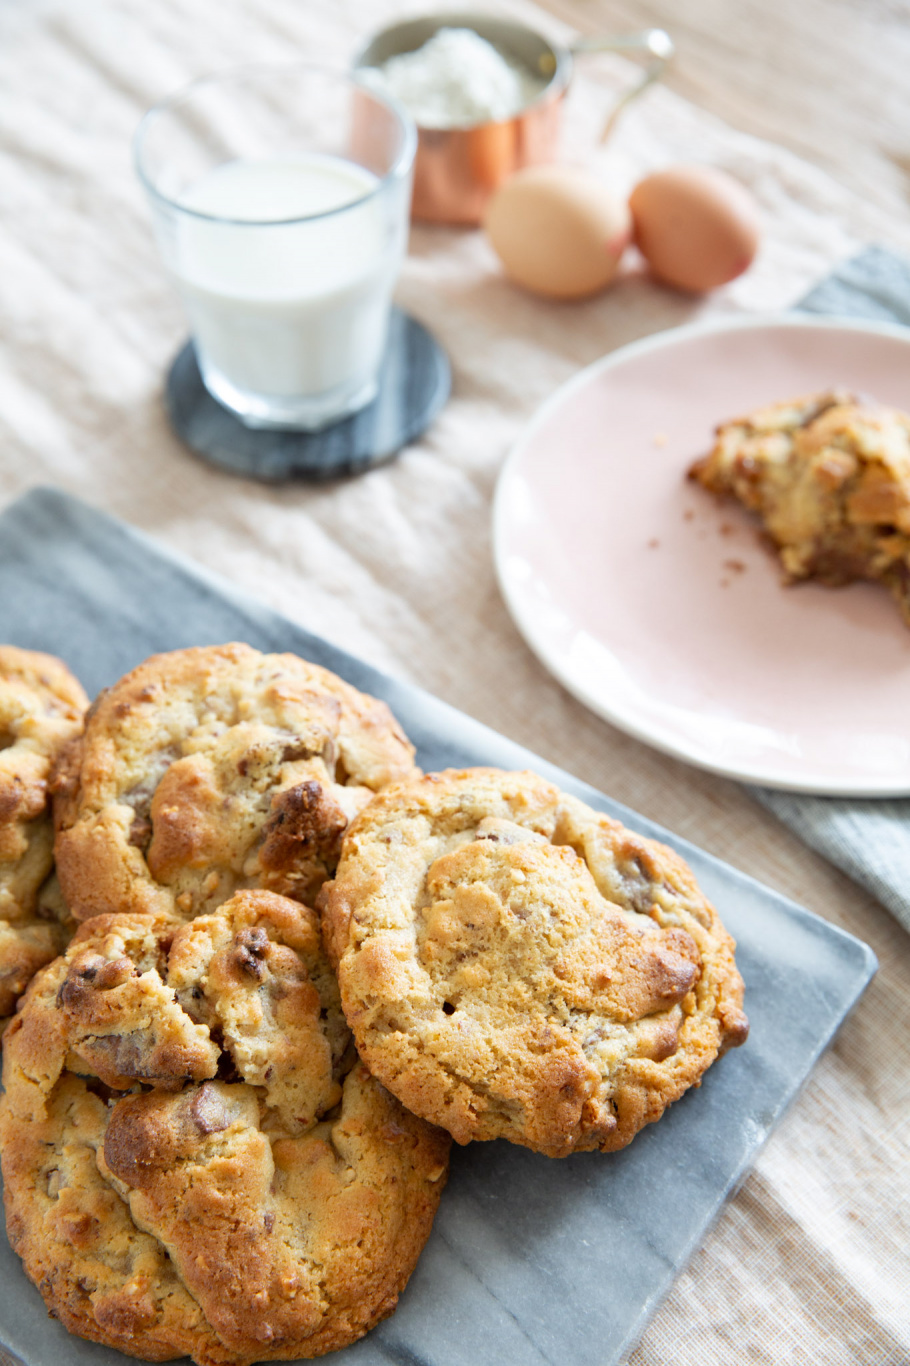
You will need: 225g unsalted butter, 200g light brown muscovado sugar (or just any type of light brown soft sugar), 100g golden caster sugar (or just caster sugar), 2 medium eggs, 360g self-raising flour, 1 tsp cornflour, ½ tsp salt, 1 tsp bicarbonate of soda, 350g milk chocolate (chopped), 100g roasted hazelnuts (chopped)
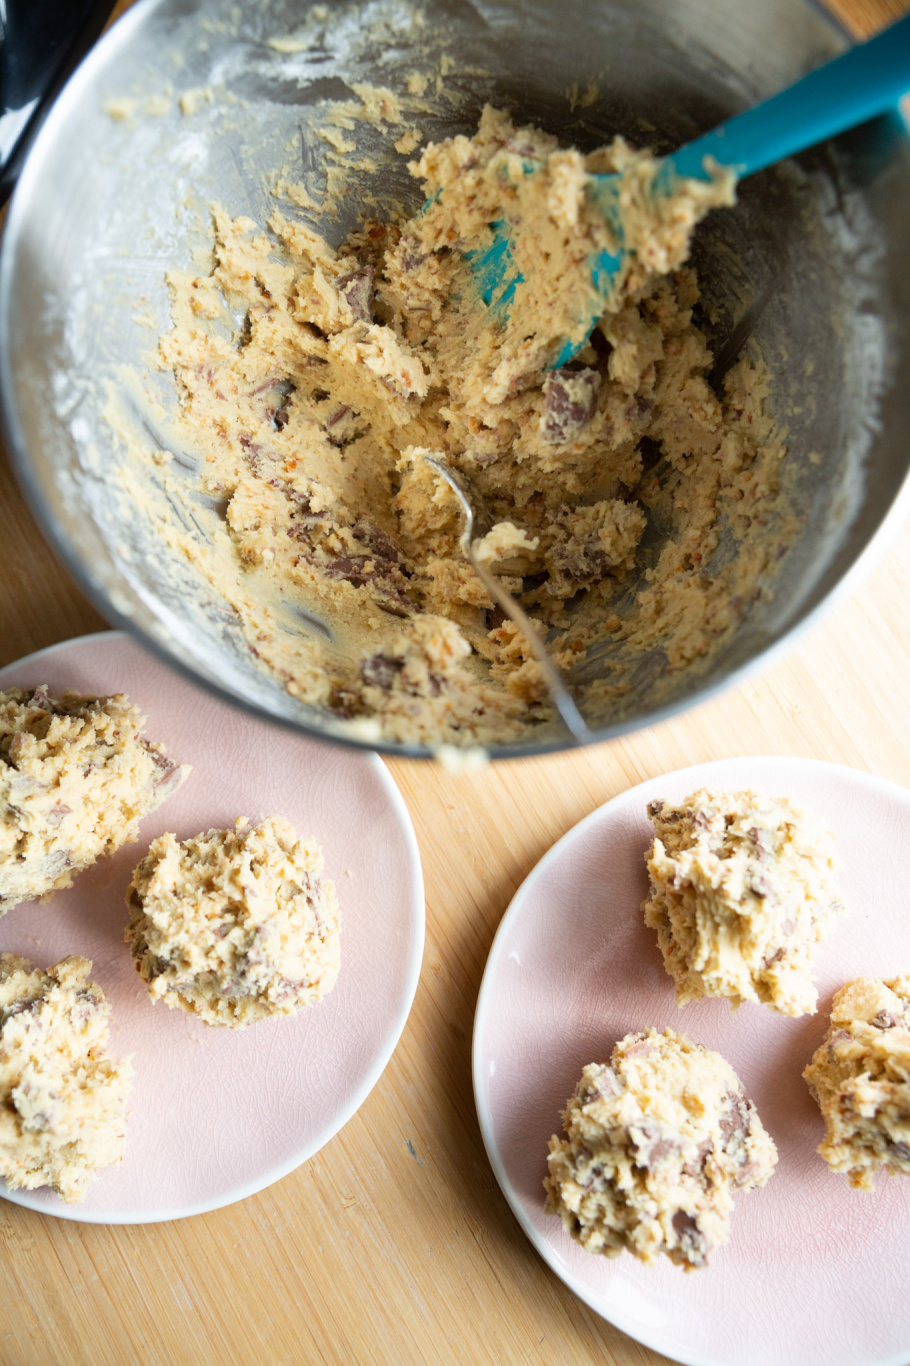
Before you get started, preheat your oven to 200℃ (if fan-assisted, if not set it to 220℃, gas mark 7 or 425℉). Mix the butter and sugar until fully combined, either in a stand-mixer or with a hand mixer. Once creamy, mix for a further five minutes until the mixture gets paler and light and fluffy. Mix one egg at a time into the mixture. Add the flour, cornflour, salt and bicarbonate of soda and mix until just combined – try not to over mix here. Then add in the milk chocolate and the hazelnuts and again mix until just combined. Spoon the mixture out onto a plate into 10-12 mounds (don’t compact them down!) and put in the freezer for at least 30 minutes, or overnight. Remove and cook on a foil-lined baking tray for 8 minutes, then turn the tray around and bake for a further 4 minutes until the tops are light golden. If you prefer your cookies to be firmer and crispier then put your oven down to 180℃ and cook for 14 minutes (again keep an eye on them and adjust the cooking time to your personal taste). Allow to cool and firm up on the baking tray for at least 20 minutes, if not longer. ENJOY!
WHITE CHOCOLATE & MISO CREME-STYLE COOKIES (Makes 10-12 cookies): Levain Bakery-style cookies have finally made it to the U.K courtesy of the hot new London cookie spot, Créme. This is one of their four core flavours and I adore it; it’s basically the cookie version of sweet and salty popcorn. The white chocolate gives it the sweet and then the tangy saltiness of miso gives it a savoury edge that stops it from being too sickly. Sounds a little weird, but it’s tied top spot for my favourite cookie combo with the above – it’s that good.
You will need: 225g unsalted butter, 200g light brown muscovado sugar (or just any type of light brown soft sugar), 100g golden caster sugar (or just caster sugar), 2 medium eggs, 360g self-raising flour, 1 tsp cornflour, ½ tsp salt, 1 tsp bicarbonate of soda, 2 tbsp white miso paste, 350g white chocolate (chopped)
Before you get started, preheat your oven to 200℃ (if fan-assisted, if not set it to 220℃, gas mark 7 or 425℉). Mix the butter and sugar until fully combined, either in a stand-mixer or with a hand mixer. Once creamy, mix for a further five minutes until the mixture gets paler and light and fluffy. Mix one egg at a time into the mixture. Add the flour, cornflour, salt, bicarbonate of soda and miso paste and mix until just combined – try not to over mix here. Then add in the white chocolate and again mix until just combined. Spoon the mixture out onto a plate into 10-12 mounds (don’t compact them down!) and put in the freezer for at least 30 minutes, or overnight. Remove and cook on a foil-lined baking tray for 8 minutes, then turn the tray around and bake for a further 4 minutes until the tops are light golden. If you prefer your cookies to be firmer and crispier then put your oven down to 180℃ and cook for 14 minutes (again keep an eye on them and adjust the cooking time to your personal taste). Allow to cool and firm up on the baking tray for at least 20 minutes, if not longer. ENJOY!
Photos by Mark Newton


Comments