Preened and polished tips in record time…
When I was younger I begged my parents to let me paint my nails, but I was never indulged as I wasn’t trusted because of my clumsy nature. Sure enough when my BFF got me a blue and red shimmer laden purple nail polish for my 10th Birthday, it took around three days for me to spill it up my lilac bedroom walls. Parents, eh? They are always right.
Fast forward 10 years and I had a whole box dedicated to my nail polish collection. I reckon at point I must have owned around 50+ colours. I dreamt of owning a space where I could have my own office and my very own rainbow nail polish wall – despite the fact that all I ever really wore were taupes and the odd coral. Speaking of colour, I’ve recently changed my tune. If last year was the year of gel manicures (always using CND’s Field Fox – it’s what I wore on my wedding day and I still love it), then this year became the year of not wearing nail polish at all. It wasn’t really a conscious thing, more just out CBA-ness to book in regular (expensive!) manicures or do one myself at home. Not only has it saved me money, I feel like my nails are in better nick because of it and actually, I quite like having plain talons that never interfere with whatever outfit I’m wearing (LOLZ BECAUSE IT’S ALWAYS BLACK).

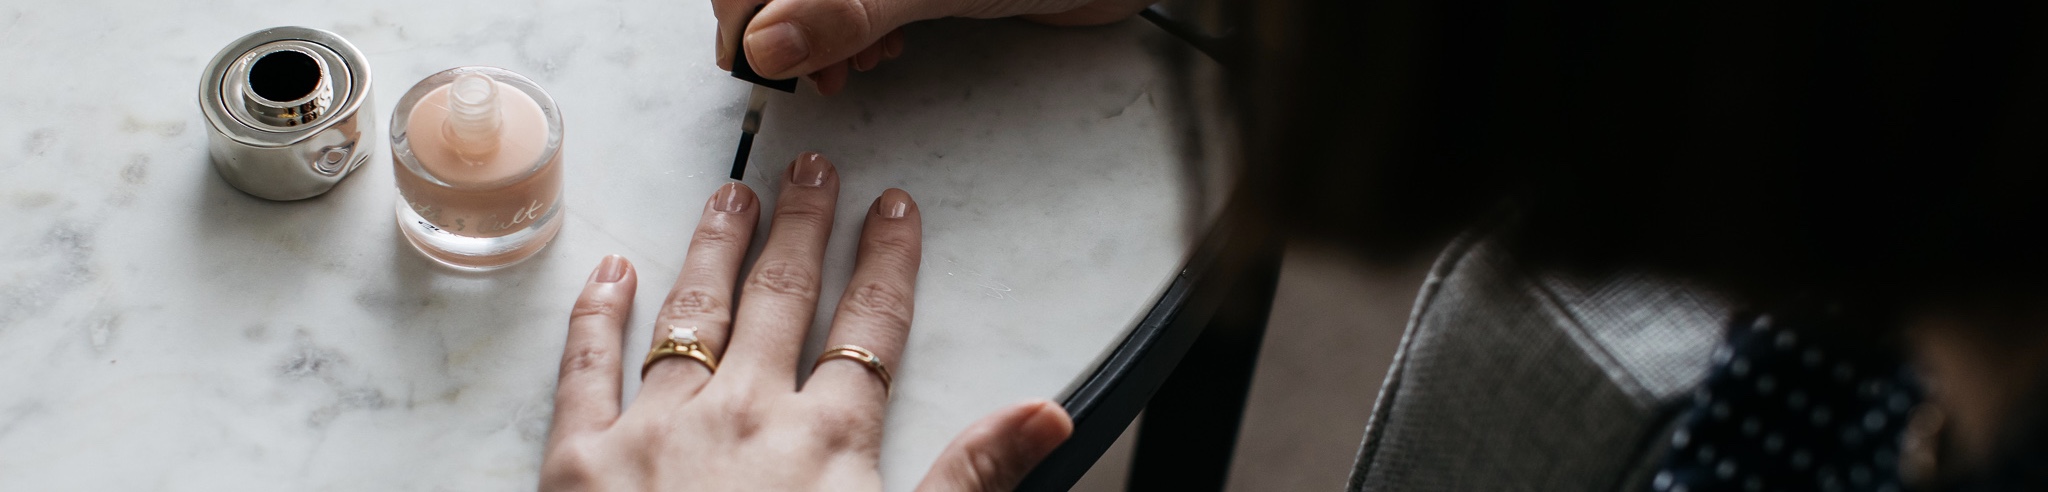
So say hello to my current manicure medley. When my cuticles had begun to creep over the halfway point on my nail bed I realised that they needed a bit of T.L.C and that actually putting 10 minutes aside once a week is a nice moment of self-care and time to pause, because you literally can’t do much when your nails are drying. Trust me – I’ve tried, smudged ’em and had to start from scratch. So each Monday morning I do this routine in my lunch break; it’s super speedy and because I paint on the nudest of nudes I manage to get a week’s worth of wear out of it because no one can spot the chips. I feel polished and a little bit more put together and ever since I began my Monday mani ritual, my cuticles have been on their best behaviour. It’s a mix of high-end and drugstore finds that I’ve been using for years, so here are the deats…

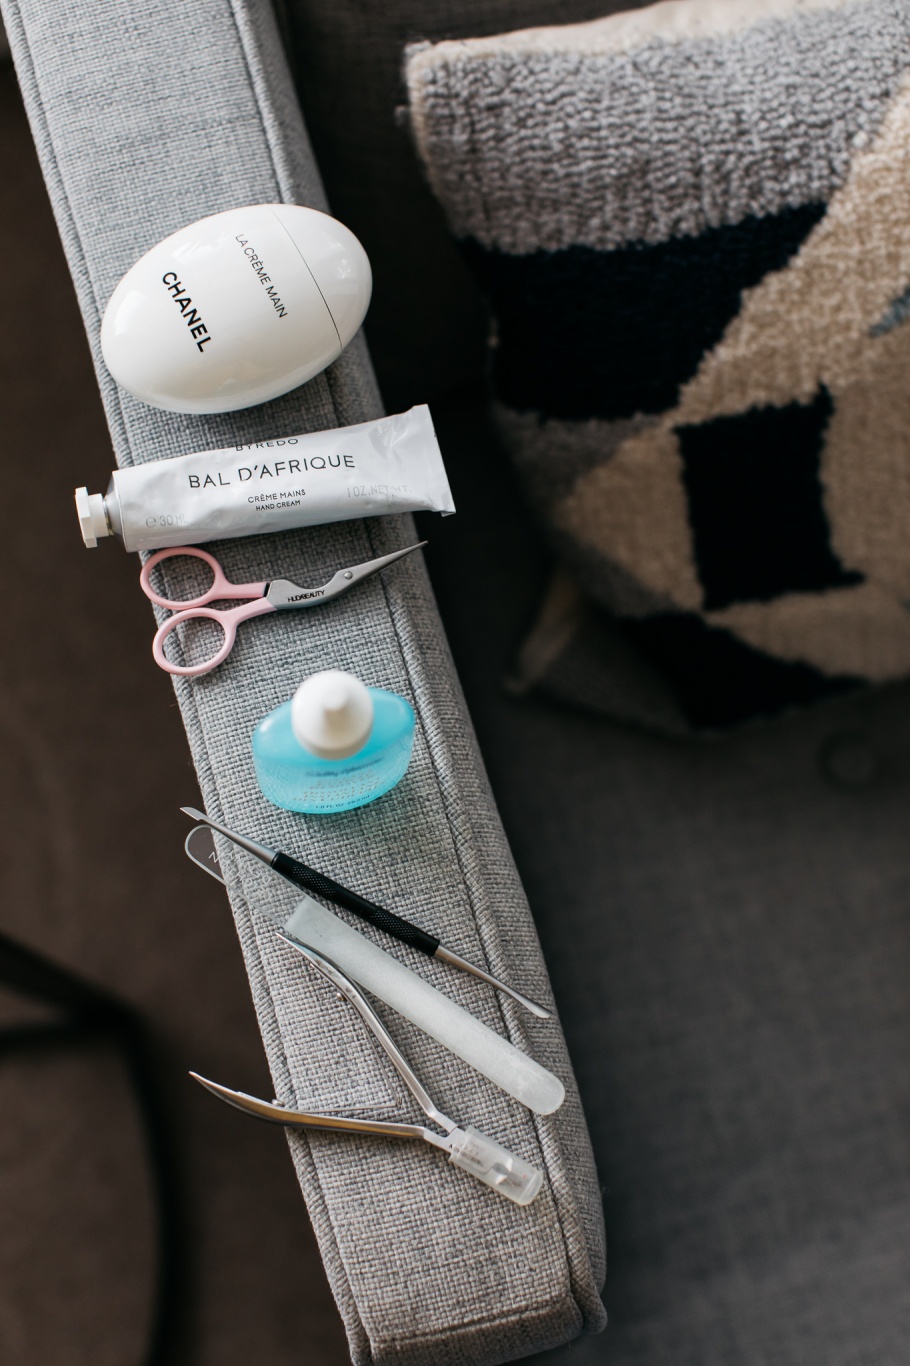
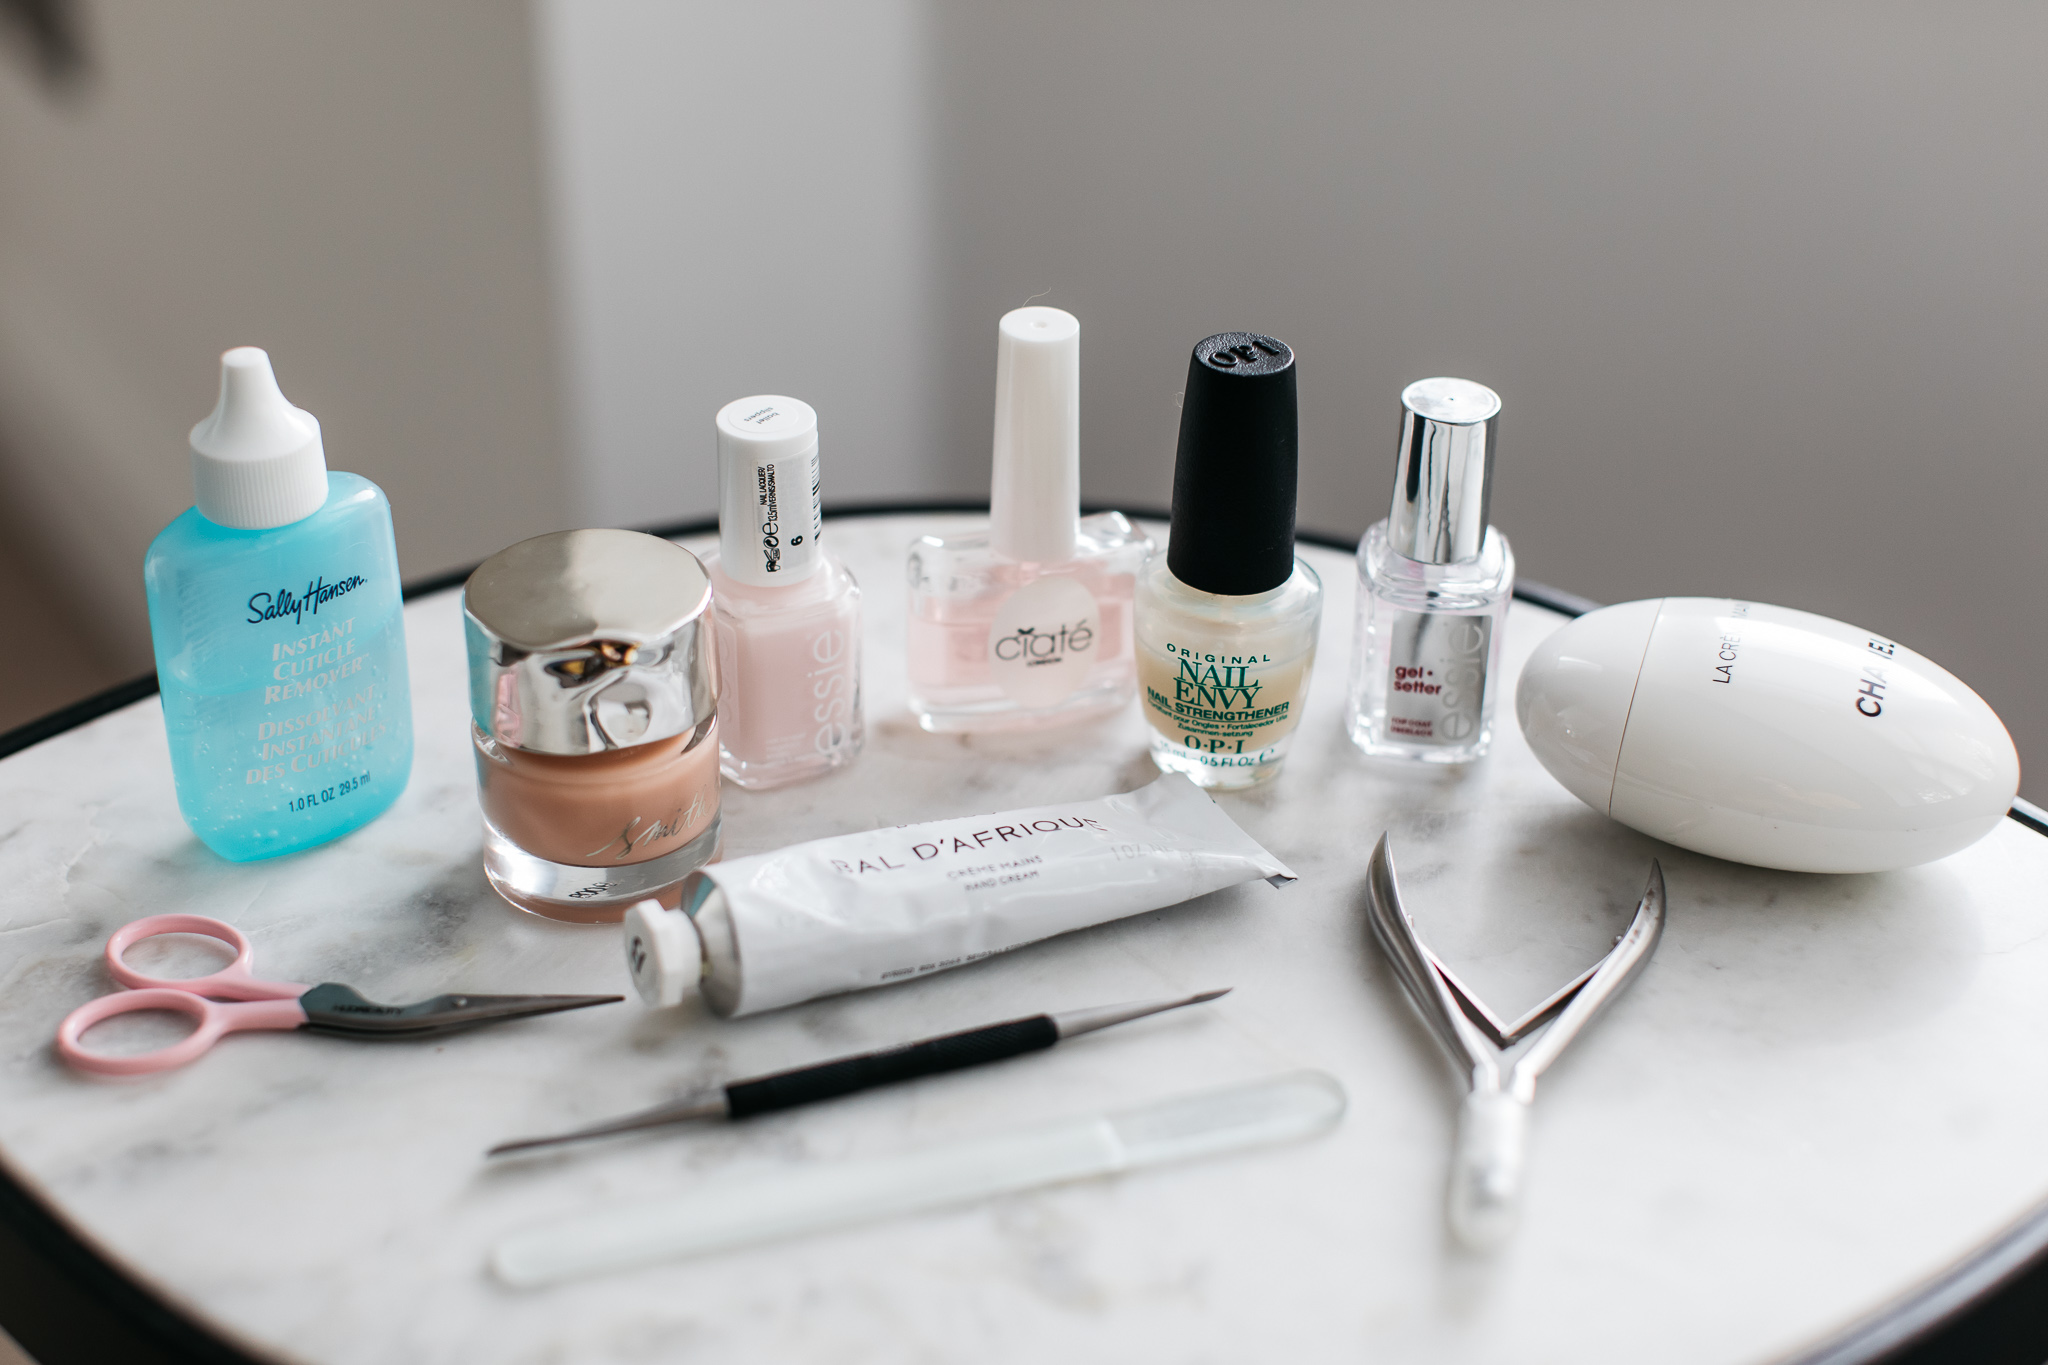
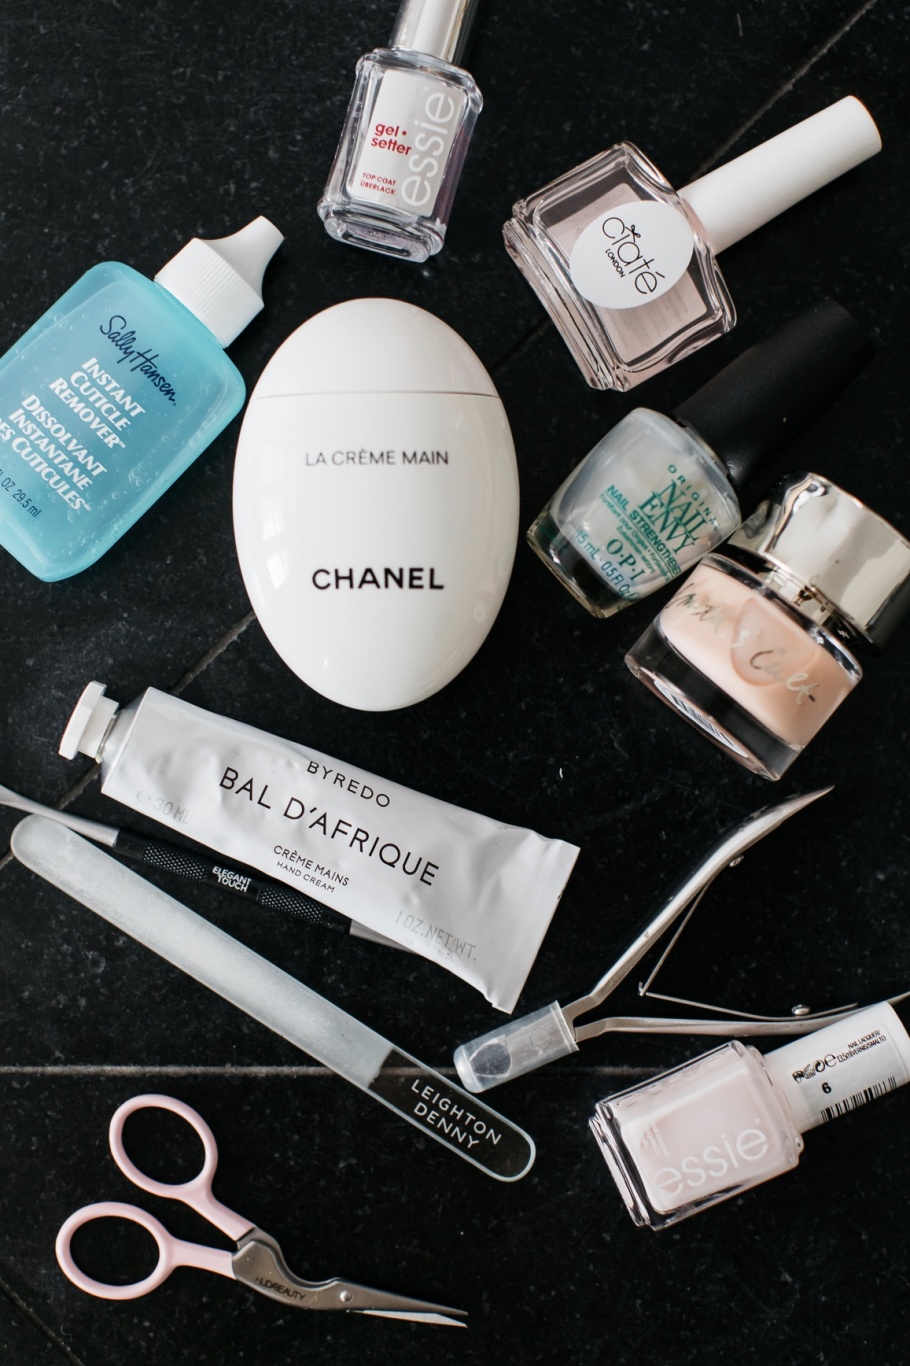
STEP 1: WASH & TRIM. The first step is a simple one. I give my hands a good wash, get right behind my nails with the Elegant Touch Cuticle Pusher and Nail Cleaner, and trim them down with a pair of Tweezerman Nail Scissors that are the best nail scissors out there. I like them real short. Uni Anna would not be impressed.
STEP 2: SHAPE. It’s rare that I use my Leighton Denny Crystal Nail File these days, but I still have one on hand incase my nails need some shaping once they’ve been cut down. It’s handy to saw off any snags or uneven edges that are left behind from just cutting them.
STEP 3. CUTICLES. The grim, but necessary step. Firstly I douse my cuticles with the Sally Hansen Cuticle Remover, then leave them for a couple of minutes before I push my cuticles back with that Elegant Touch Cuticle Pusher and Nail Cleaner that I used earlier. Finally I wash off the remnants and clip any extra bits back with my Tweezerman Cuticle Trimmer.

STEP 4: PREP. All the maintenance work is done by this point, which is good because the cuticle stuff makes me want to vom. So at this point I splash on the Ciaté Base Balance Nail Toner. It basically dries the nail out and makes sure that your bed is clean so that your base coat can properly adhere to it. If you don’t have a dedicated product, just give your nails a swipe with a cotton pad soaked in nail polish remover.
STEP 5: PAINT. I’ve played around with colours here to find the perfect ‘I’m not wearing nail polish, ok, maybe just a little bit’ colour and I’ve found the perfect concoction thanks to recommendations from you lot. On it’s own Essie Ballet Slippers is too white-based, but when I mix it with Smith & Cult Ghost Edit, which on it’s own is a little too pink and extremely sheer – it’s perfect. So I do a coat of OPI’s Nail Envy as the base, one layer of Ballet Slippers, one layer of Ghost Edit and the Essie Gel Setter Top Coat to seal things in.
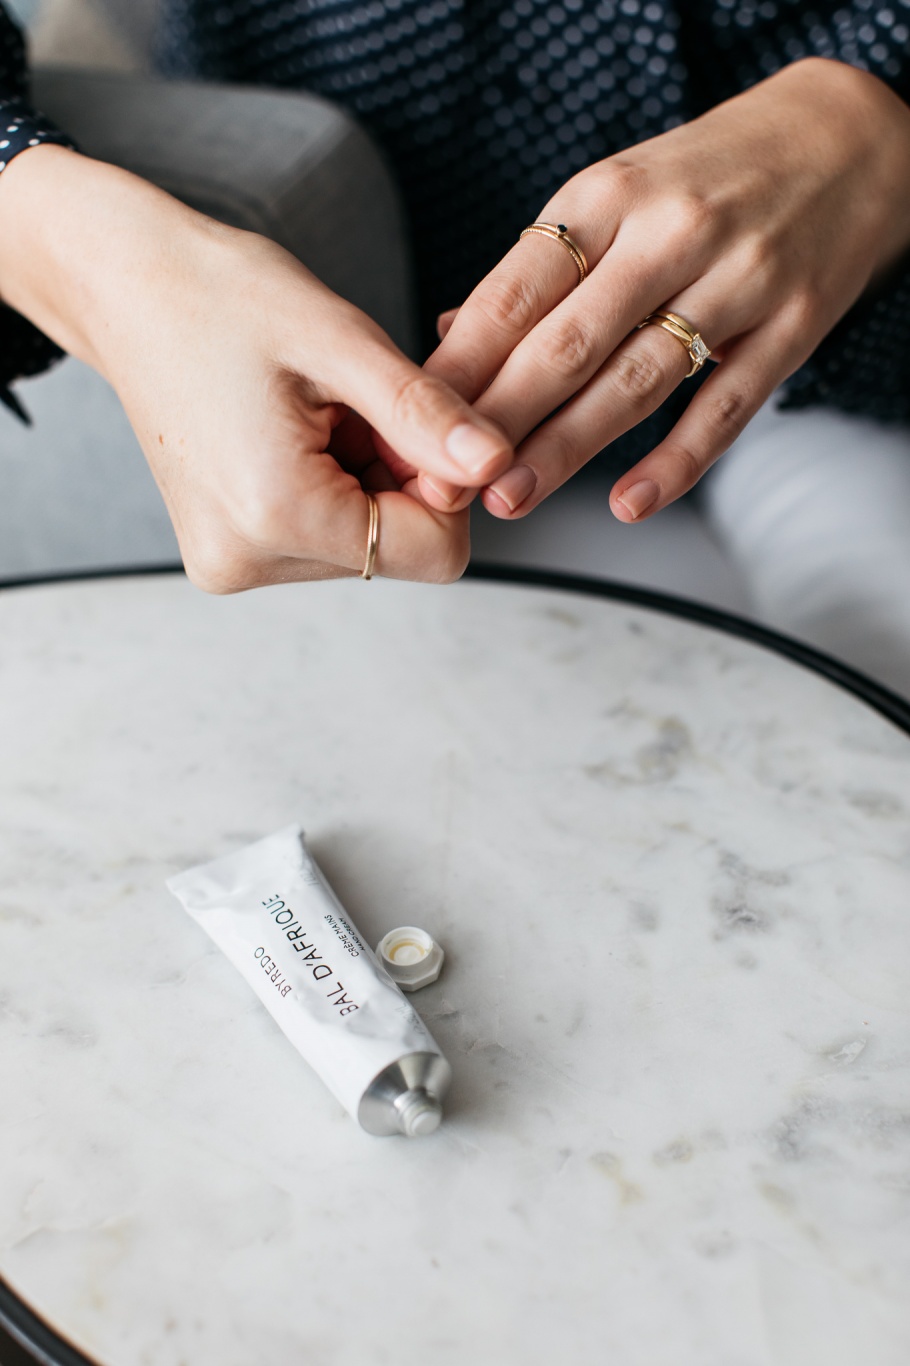
STEP 6: NOURISH. As I final step I use whatever oil I have hanging around – nail, body, face, whatever – and massage it into my cuticles, before applying a hand cream and taking the excess off my fingertips with a towel because ain’t no-one want a smudgy iPhone screen, but that’s it. Six steps + 10 minutes = a one week mani.
Photos by Emma Croman
*Sign up to my monthly newsletter, ‘An Edited Life’ here*
SHOP THE POST


Comments