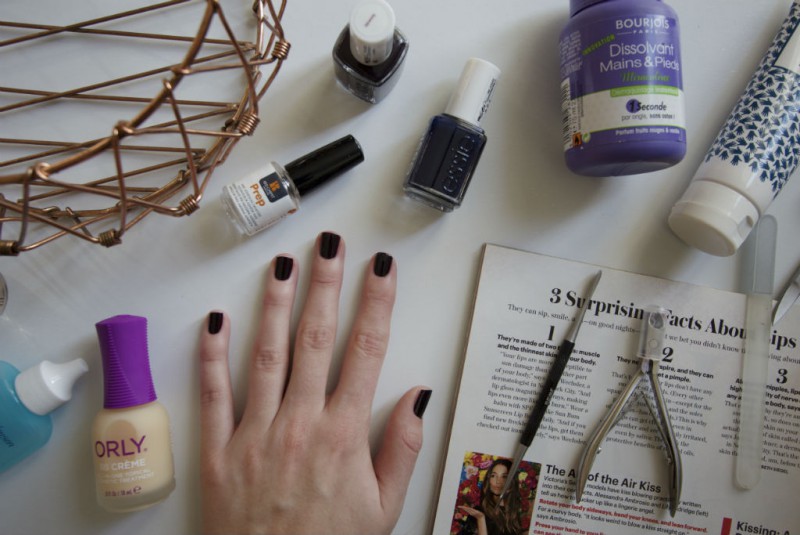
If there’s one body part that needs a bit of extra TLC during the colder months, it’s my hands. They’re not the most well kept anyway – dry, flakey nails that are often chipped, nice – but it’s nothing that a quick at home mani can’t fix. Time to lather on the oils, tidy up those cuticle beds and lacquer up with a seasonally appropriate shade and things will look salon fresh in a matter of just five steps. This is what Sunday is shaping up like…
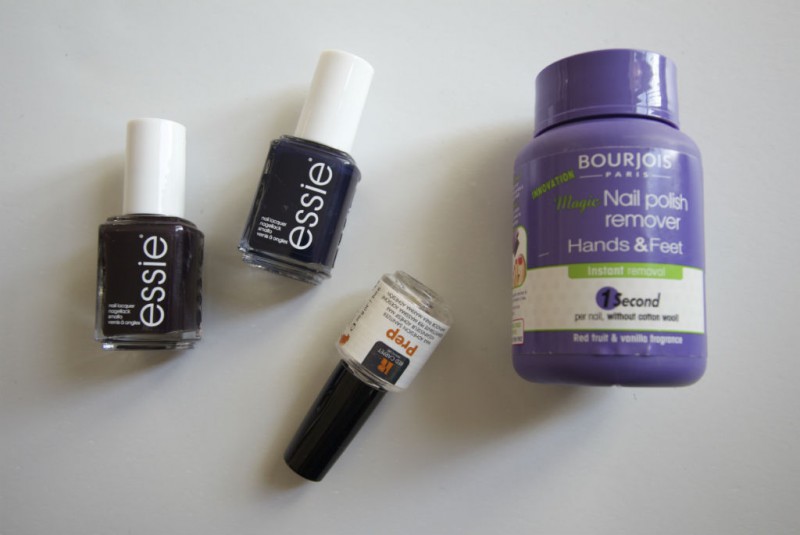
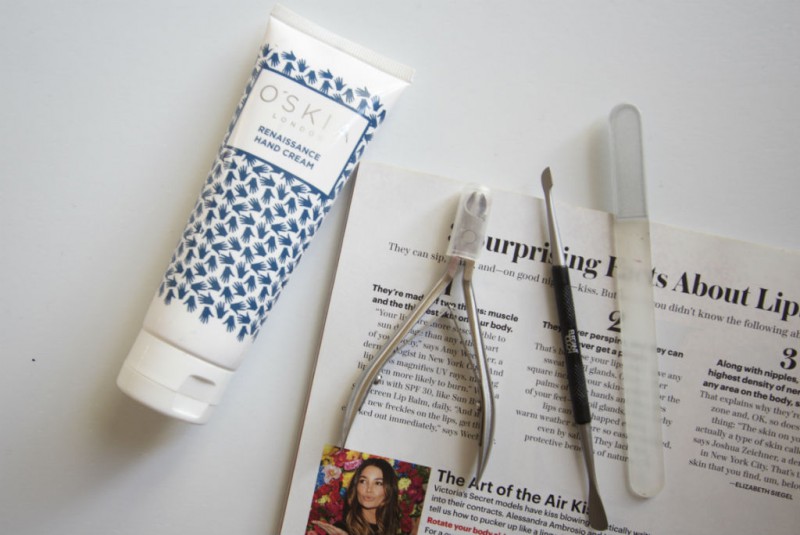
1. PREP. My beds also suffer with the ability to chip two hours after polish application so prep is key if I want them to last though the week. The first thing I do is remove my current polish. The Bourjois 1 Seconde Magic Polish Remover is the fastest way to do that, plus it doesn’t smell as intense as some of the other ones I use. Then it’s time to get out the tools. I trim my nails – ‘the shorter the better’ is my current mantra – then I give them a file with my Leighton Denny Crystal Nail File (a pricey investment, but I recommend the travel-size which is a little cheaper and does exactly the same thing), Finally you’ve got to buff. I don’t do this every time I schedule in a DIY manicure, but perhaps twice a month I whip it out to smooth the surface and provide a fresh base for polish.
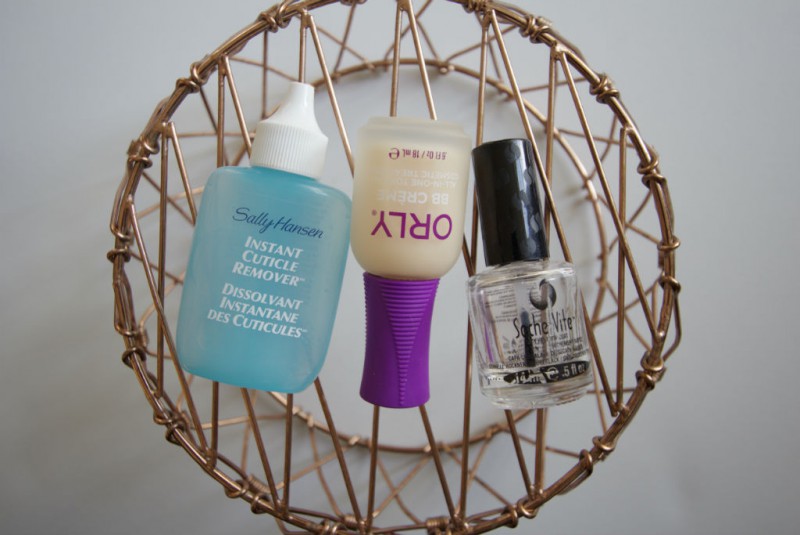
2. CUTICLE CARE. Probably the most minging part of this whole set-up is this step. I wasn’t even aware what cuticles were until I got into nail polish, but really this is the step that makes all the difference in terms of faking a professional appearance. I begin by using the Sally Hansen Instant Cuticle Remover (honestly, how many times have I spoken about this?) to soften them, then push them back gently with the Elegant Touch Cuticle Tool before rinsing off my hands. You could leave it there, but for my persistent cuticle beds I go a step further and give them a little trim with my Tweezerman Cuticle Nipper (even the name just makes me shudder). Vom.
3. ALL ABOUT THE BASE. Whenever I give myself a crappy ‘quick got to leave but my nails are naked’ manicure this is what I always miss and attribute to the fact that my paint job lasted until I got to the bus stop. Nails must be squeaky clean before lacquer is applied so I use the Red Carpet Manicure Prep from my gel kit to get rid of any residue. Right now my base of choice is the Orly Bonder one. It sounds a bit weird, but it’s almost got a rubberised finish when it dries, instead of matting out the nail like some others do which makes me think it’s a little more nourishing perhaps? I don’t know. But it does what it says on the tin.
4. LACQUER UP. Ahhhh what colour to go for? Current favourites of mine include Essie After School Boy Blazer and Luxedo which both look very similar when applied and have that whole ‘black, but not black’ thing going on. Go for whatever you fancy but stick to a formula that doesn’t require too much work and attention and with a brush that serves up just the right amount of polish in a wide-cut format. When it comes to top coat, you know the one – Seche Vite, obvs.
5. GET THE LOTION IN MOTION. I’ve always got a hand cream on the go, but the one right now that sits on my bedside table is the Oskia Renaissance Hand Cream. Love the cleanser and now I love their mitt caring offering too. I massage in it my palms, backs of my hands, cuticles – the lot. Smells good, sinks in and doesn’t leave your hands too greasy to delve to snacks while you watch Elf. Wait, is it to early? NAH.
…see easy peasy. Just commit it to memory for next Sunday’s mani sesh, eh? Same time, same place?


Comments