Erm, hello is that Paul Hollywood?
During lockdown Mark has slowly morphed into Paul Hollywood. He started off by swapping his sci-fi nightly reading for bread baking books, then he began schooling me on how to identify a high-quality flour (stone-ground and unbleached apparently), then when the loaf production line began he was tapping bread bottoms left, right and centre. It’s only a matter of time before he starts wearing too-tight shirts with the collar popped up. Of course I am able to let go of the fact that he wakes me up every morning to slip out into the kitchen to knead/turn/hydrate the starter/whatever the hell he’s doing in there, because a few hours later a warm loaf of crusty white sourdough appears fresh from the oven just in time for lunch. It’s a skill that he’s honed over the recent weeks and from failed starters that sadly (and quite dramatically) ended up in the bin, to loaves that our family members are now putting orders in for, it’s been quite the journey. So I’ll pass things over to him so he can share his tried-and-tested advice on how to turn a homemade sourdough starter into a loaf that Paul would give you a handshake for…
HOW TO MAKE SOURDOUGH STARTER
Hello, Mark here! The first thing I’ve got to say about a sourdough starter is that for something that appears relatively simple – just flour and water – there are so many variables, some that are difficult to control, that can completely mess the whole thing up before you’ve even really started. In my experience it’s not as easy as it looks! After a few failed attempts I found this BBC Good Food recipe to yield the best results (a starter that actually worked and bubbled and floated and made delicious sourdough). My main takeaways?
Get the best flour that you can. Bleached flour is a no-no and organic or stone-ground seem to be the best types to use. We’ve had luck sourcing some from our local bakery, who seem to be far better stocked in the flour-department than our local supermarket.
Temperature is really important. Try to find a relatively warm spot in your home, around 19-20℃. Somewhere that is free from draughts and a place that stays consistently warm throughout the day.
Make sure you have a jar that is big enough. A 1L Kilner Jar* worked perfectly for me, so that you’ve got space to add to your starter.
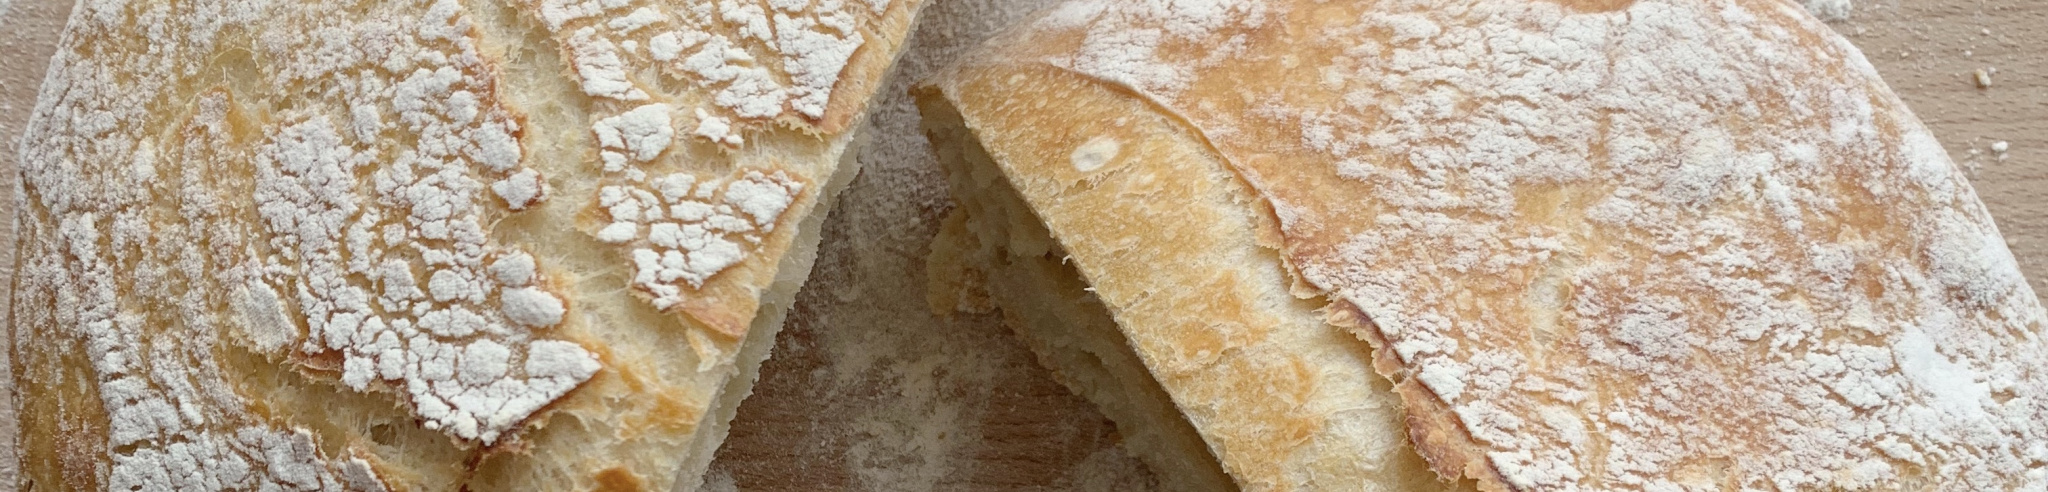
It doesn’t have to be really bubbly. There are so many pictures online of starters overflowing over the sides of their jars, and although that might be the case for some people’s starters, it won’t be the case for all. Mine began to bubble and expand after a week of feeding (a bit longer than the recipe suggested), with bubbles gathering throughout the mixture, the starter gaining approximately 50% in volume. IT DIDN’T LOOK LIKE THE CRAZY PHOTOS!!
How do you know when it’s ready? Take a glass of warm (not boiling hot) water, and half a teaspoon of your starter and see if when you place the starter in the glass, does it float? If yes, then you’re ready to move onto the next step. If not, continue to feed it daily.
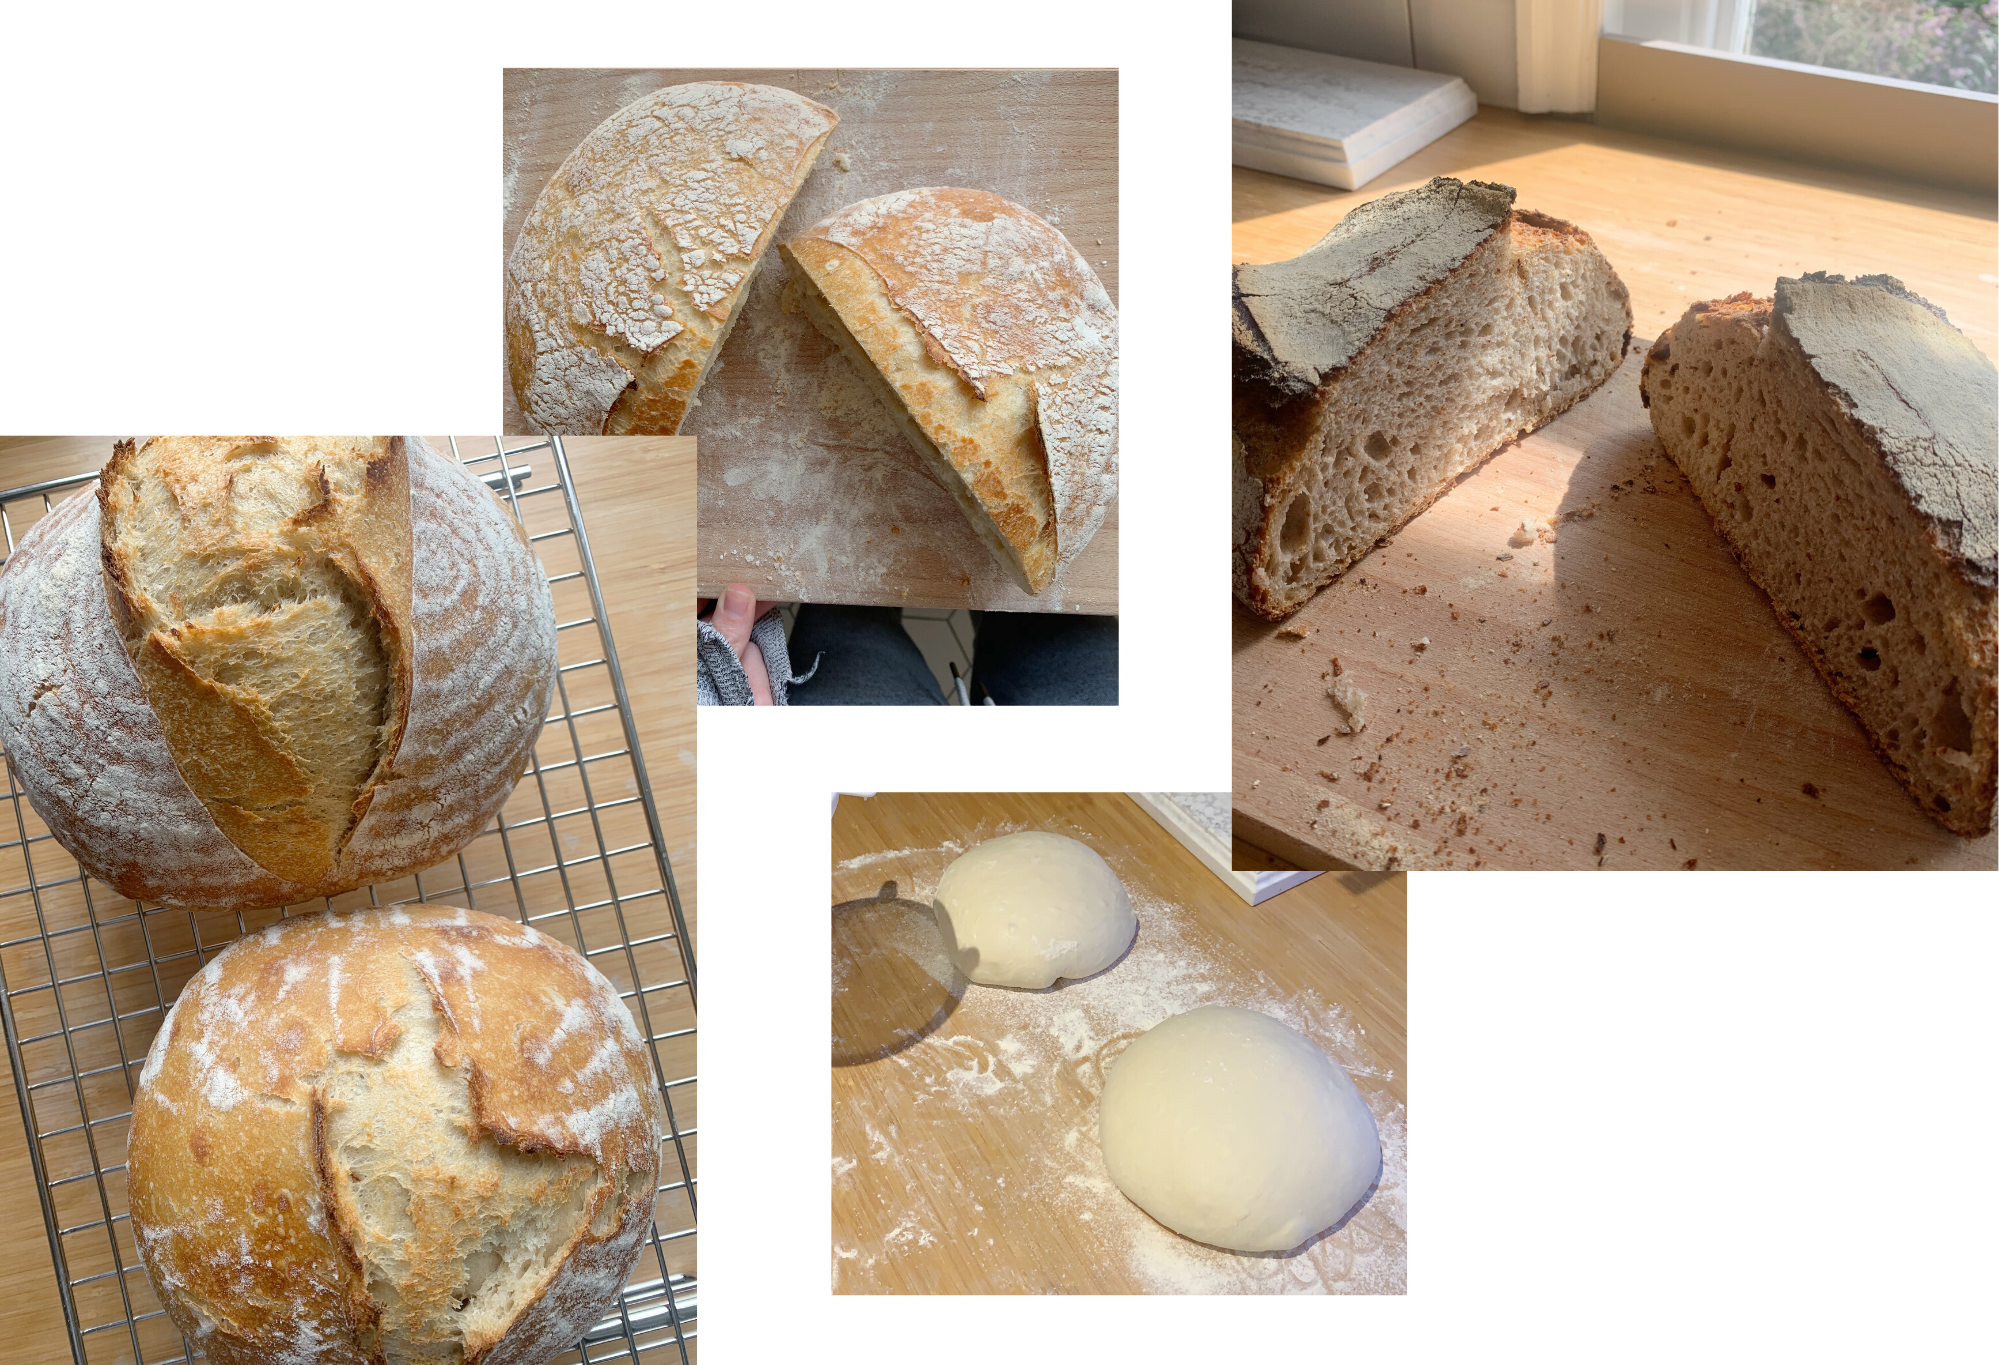
HOW TO MAKE SOURDOUGH BREAD
Now we’re onto the fun part. Although I have to admit that once I’d got the technique down I did enjoy making our starter – a living thing that we plan on having forever. That’s pretty cool! Once again I used the BBC Good Food Sourdough recipe, although I’d suggest watching the Bon Appetité Brad & Claire Make Sourdough video as additional viewing – it’s a very similar recipe and it’s good to get a visual look at the steps (A note from Anna – this is my most-watched video on YouTube. I’ve watched it at least 25 times). Other than that I thought an equipment list might be helpful:
WHAT YOU NEED
1 x Dutch Oven (ours is similar to this one*)
1 x Silicone Spatula (we have these ones*)
1 x Dough Scraper (like this one*)
1 x Large Heavy Ceramic Bowl (ours is like this*)
1 x Weighing Scales (we have this one*)
2 x Banneton* (colanders are a really good substitute)
2 (or more) x Linen Napkins, Cloths or Tea Towels
Cling-Film
One thing that I found really helpful was to write down my own checklist of all the steps and timings – because there are A LOT. Otherwise it’s really easy to miss something out or loose count of how many times you’ve turned your loaf. So I’ve made my notes into a hopefully handy checklist for you to print-out, follow and tick-off and you go. With the recipe in one hand and this in the other, you’ll be making Star Baker-worthy loaves in no time. On your marks, get set, BAKE!!!!
*DOWNLOAD THE SOURDOUGH CHECKLIST HERE*
Photos by Anna & Mark Newton


Comments