It seems like yesterday we just began to get our heads around the concept of cream eyeshadows. A buttery texture for your eyelids? Why? How? What is this sorcery? It took me a long while to get used to the slippy formula and realise that after a touch of primer and with the right blending techniques it could actually be a longer-lasting eye colour option than others and in the time it’s taken for me to figure all that out liquid eyeshadows have managed to worm their way to market and it’s a whole other thing.
Thinner than creams and usually housed in a doe-foot ended applicator these swipe onto the lids with some serious opaqueness and do their thing without the need of a primer to provide a base for them to get to work. The thin texture means they can be worn sheerly or built up with ease and blend with a gentle pat of a finger or brush. Of course this formula has the tendency to get messy, but with the right product and application tricks and tips they can be some of the most long-wearing eye items out there; so today I’m arming with my findings.
Shall we talk through applying first? Yeah, why not? Now there’s a few options here. For paler shades I prefer to use fingers. It’s a bit easier than having to whack out a brush and with the lighter colours there’s a bit more room for error. I apply a stripe of colour to the lashline and blend upwards to the crease, before using a clean finger to smudge out the edges. Go in with a small amount of product and layer again if you want more pigment. Simples. That same rule applies when it comes to using brushes. The saying ‘less is more’ most definitely comes into play here too. I quite like blobbing some colour on the back of my hand, dipping a fluffy brush into it and then blending what’s made it onto the brush over my lids. It’s a nice way to get a wash of colour to the eyes, but if you want something a bit more dramatic you could always build things up with a flat brush first before doing the blending thing. With both techniques I like to do one eye at a time. It’s not ideal for someone like myself who isn’t the most proficient in eyeshadow application, but the formulas dry down so quickly and once they’re set, let me tell you – they ain’t going anywhere.
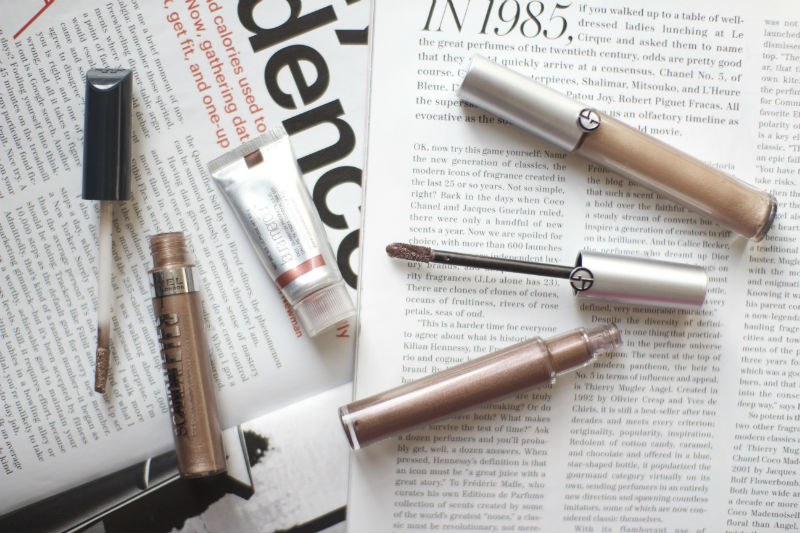
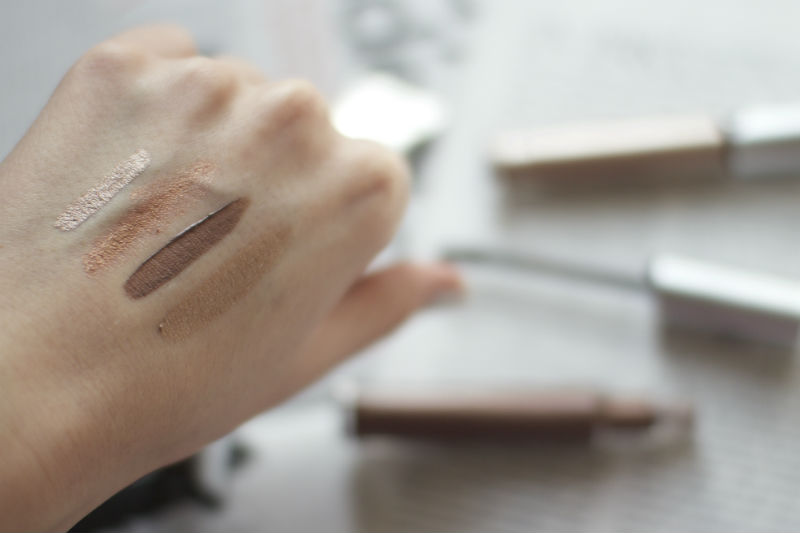
In terms of my favourites, I’ve got some from both sides of the budget spectrum. The first one I tried was the drugstore available, Rimmel Scandaleyes Shadow Paint in Rich Russet (swatched on the left); a silver-laced taupe that lasts for hours upon hours and is a nice daytime option. Then there’s the Laura Mercier Metallic Eye Creme Colour in Rose Gold (swatched second to left), which isn’t so much of a liquid as it is a cream, but I count it in this category as it comes in a cute little squeezy tube. As the name would suggest it’s a pink tinged gold that isn’t the most long lasting, but I just love it for the colour. A new favourite are the Giorgio Armani Eye Tints in 10 (swatched second from right) and 9 (swatched on the right). 10 is a deep coppery bronze that has a touch of purple in it and makes for a nice deep smokey eye, whereas 9 is a summery taupe gold that is a bit more of an everyday option. They blend beautifully and last yonks; in fact I’d say they are my favourite ones I’ve tried, mainly due to the fact that the colour range is vast and there are some real gems in there (the navy blue shade 2 is one I can’t wait to have a play with).
So liquid eyeshadow – you got your head around ‘em? Any other tips or faves to add?


Comments